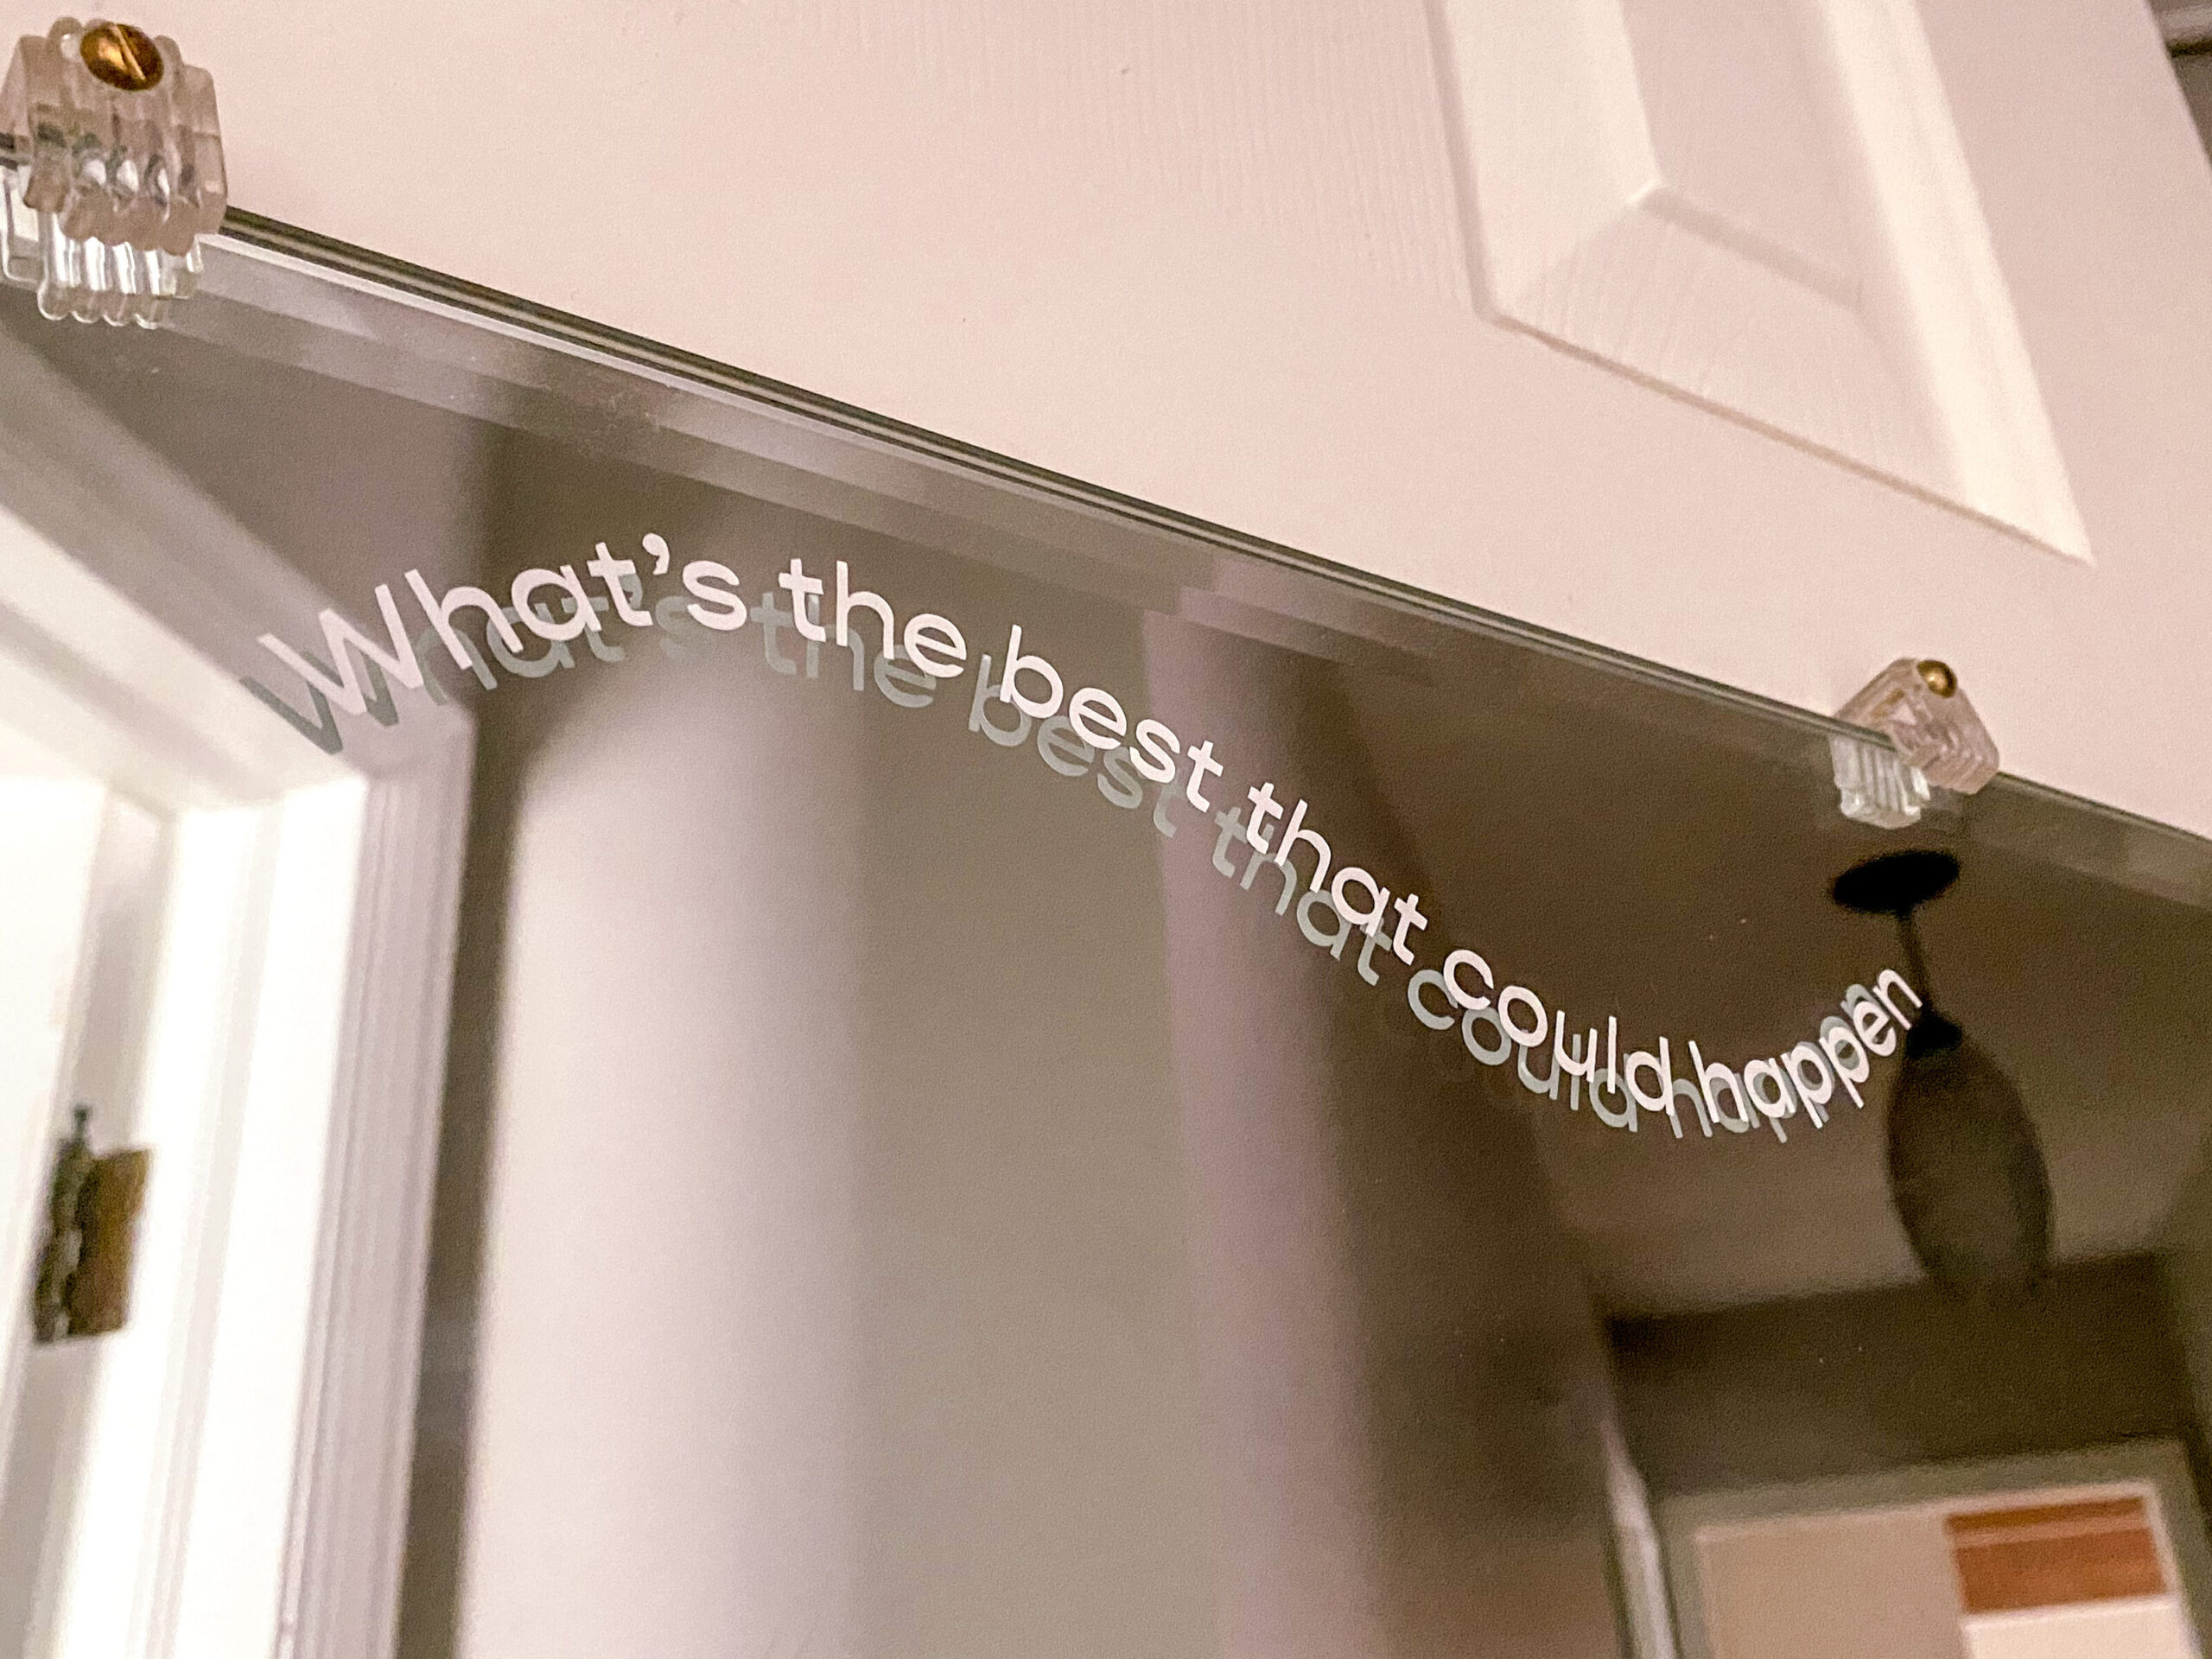
This is a step-by-step guide (with pictures!) to creating vinyl mirror decals using your Cricut. Use this method to create fun images, like the flowers shown, or your favorite affirmations and use them to decorate your space.
You will need:
- Cricut machine
- Cricut Design Space
- Scissors
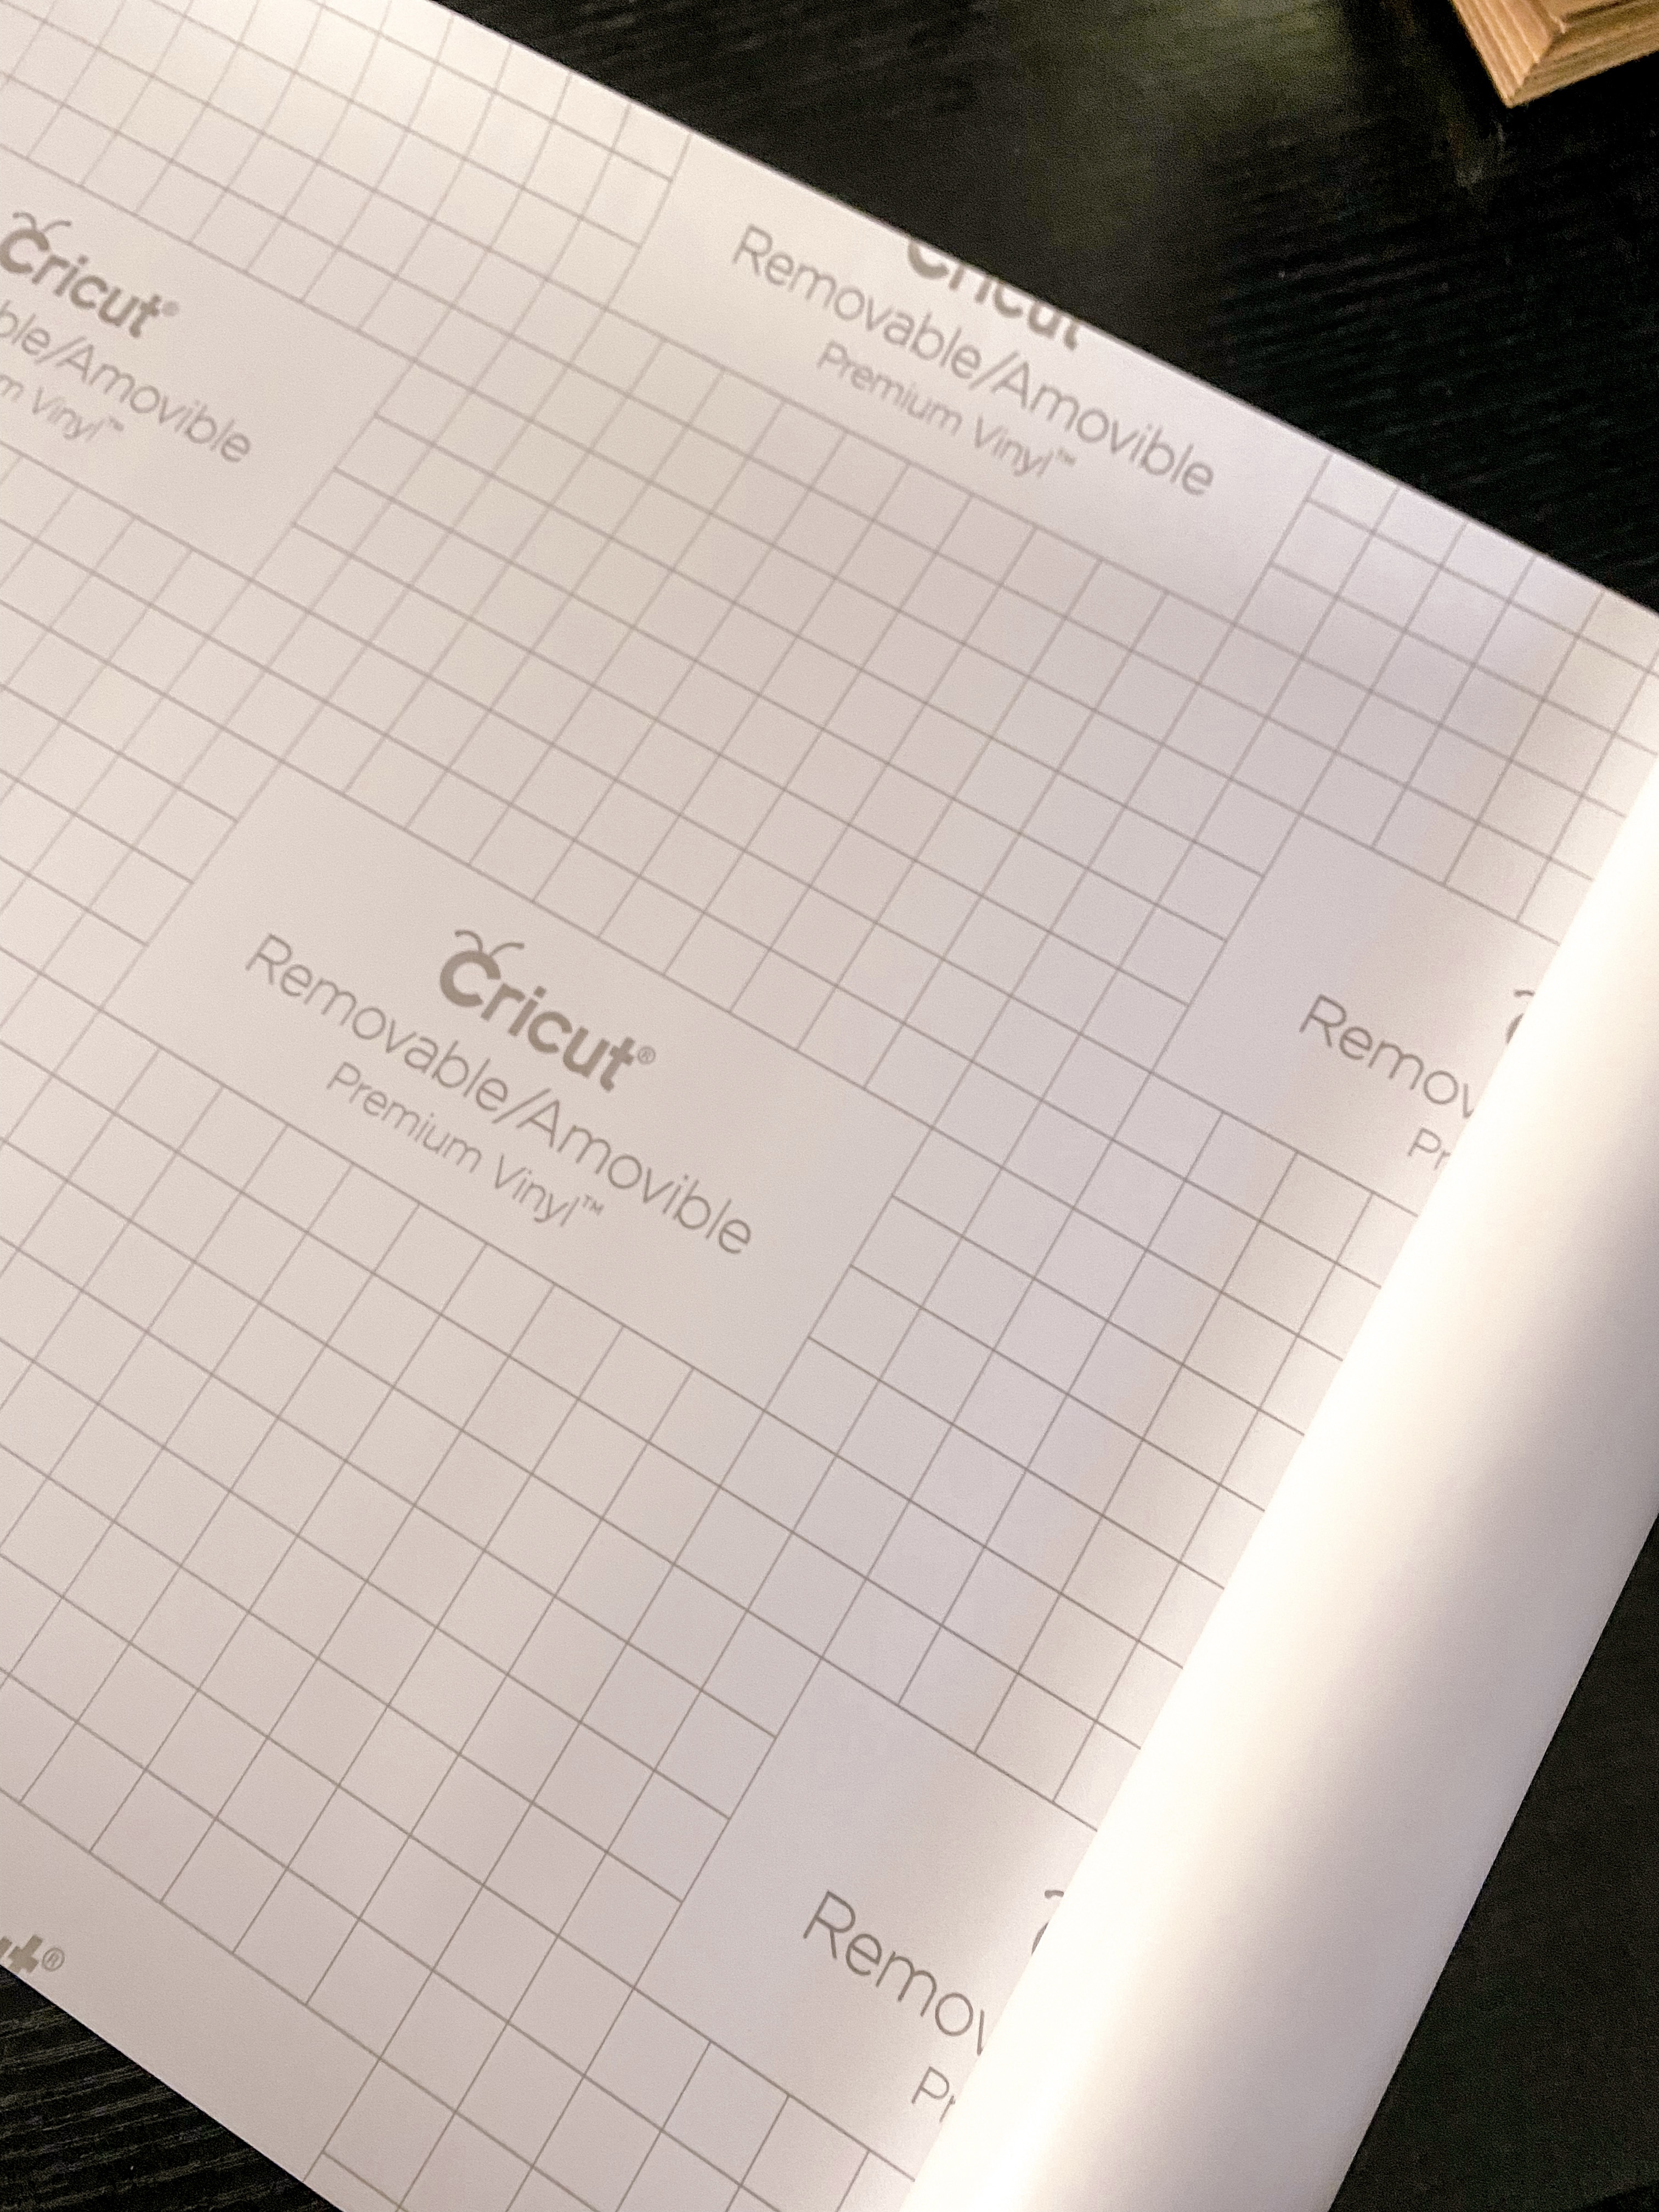
- Removable adhesive vinyl
- Transfer tape
- Microfiber cloth
Step 1 – Design
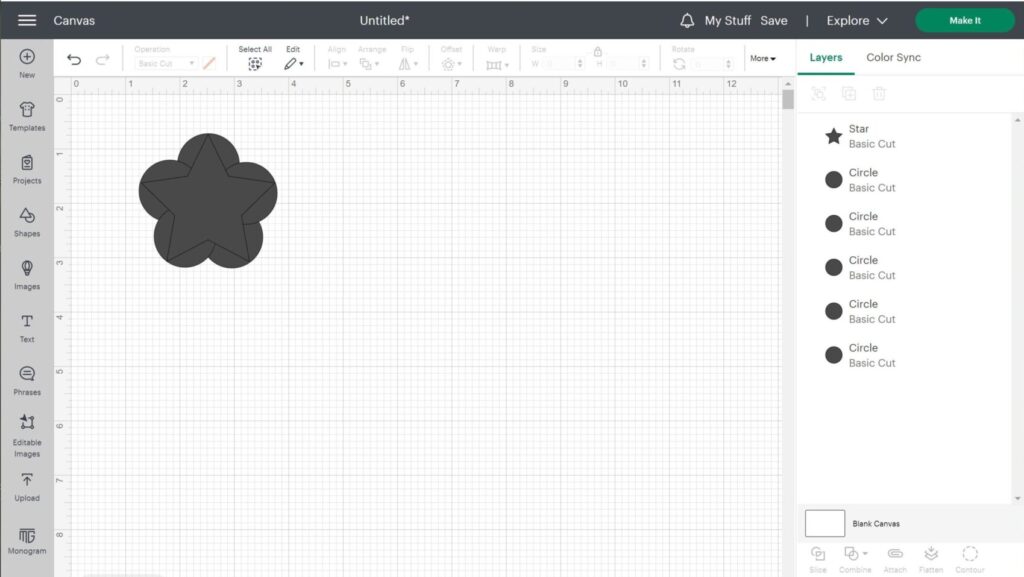
Begin by creating your design in Cricut Design Space. To create the flowers place a generic star shape, using the points of the star to layout circles until you are happy with the size and shape.
Then, select the circles and use the combine tool to Unite the shapes. The star can be deleted.
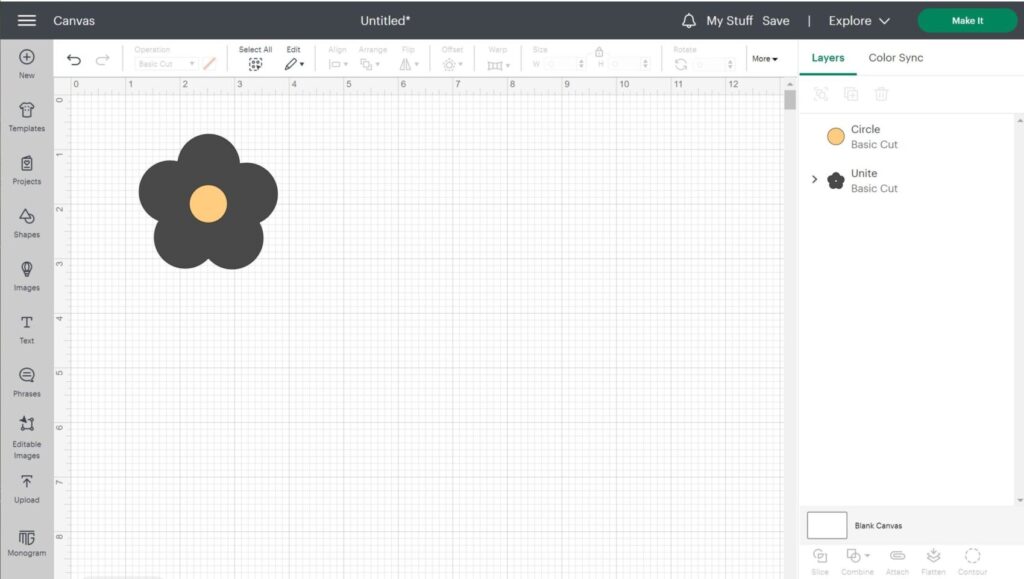
After uniting your shapes, place a new circle in the center of your flower. Select the “Unite” group and the new circle and use the combine tool again, this time to Subtract
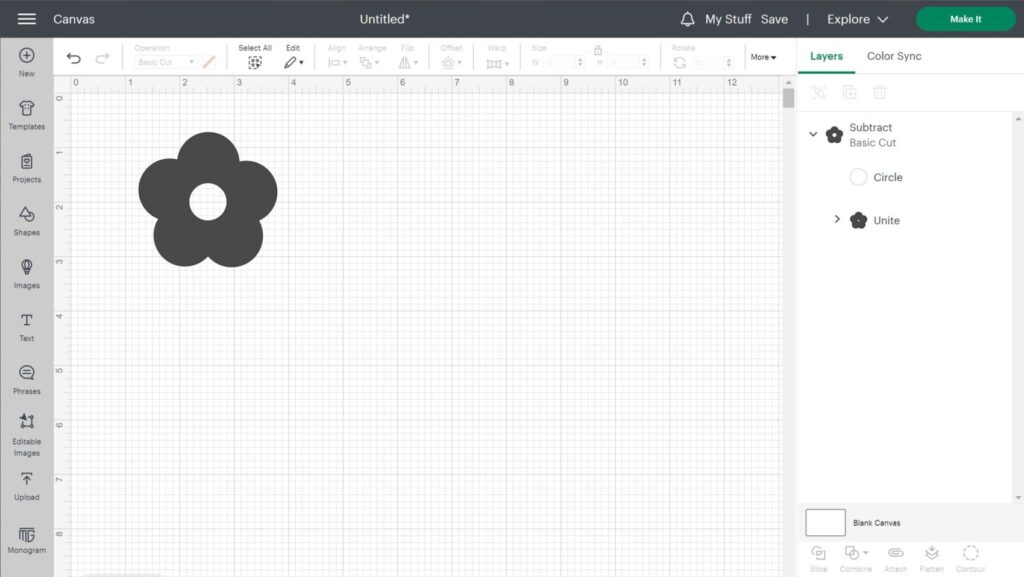
At this point your design should look something like the image below.
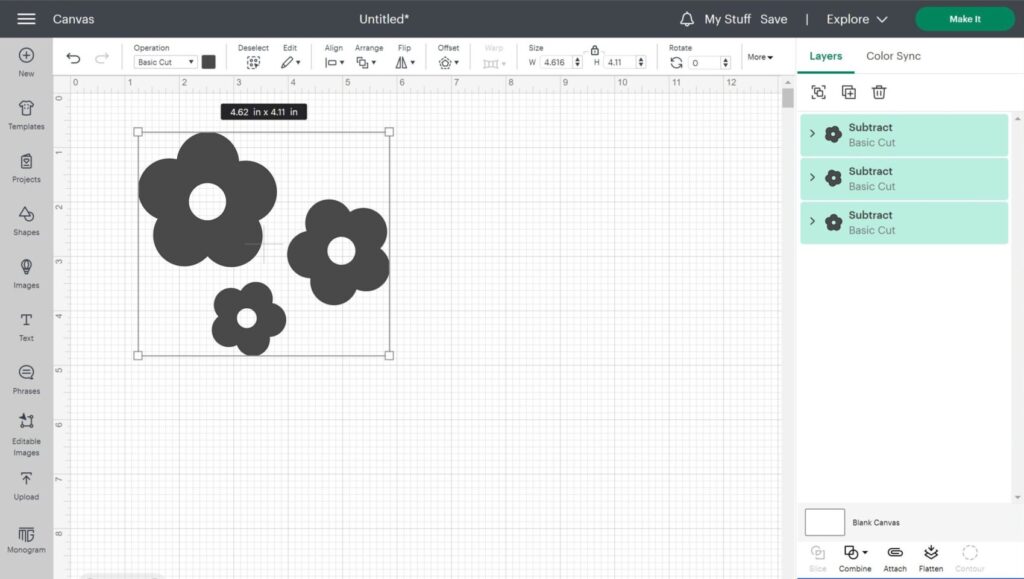
After you have completed the first flower, simply copy and paste as many times as you want. Scale and rotate each flower to create a combination you like. Once you have a design you like, select each flower and Attach them. This is very important, if you do not attach the shapes they will not stay arranged as they are in the next step. After that, select Make It in the top right corner.
Step 2 – Cut
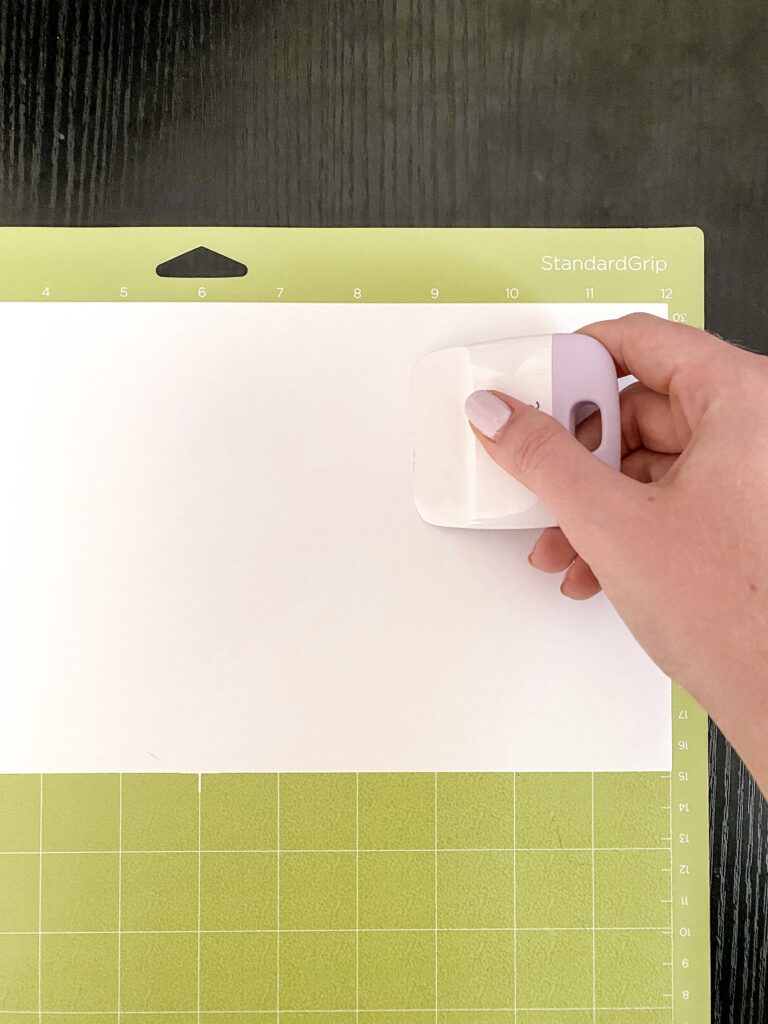
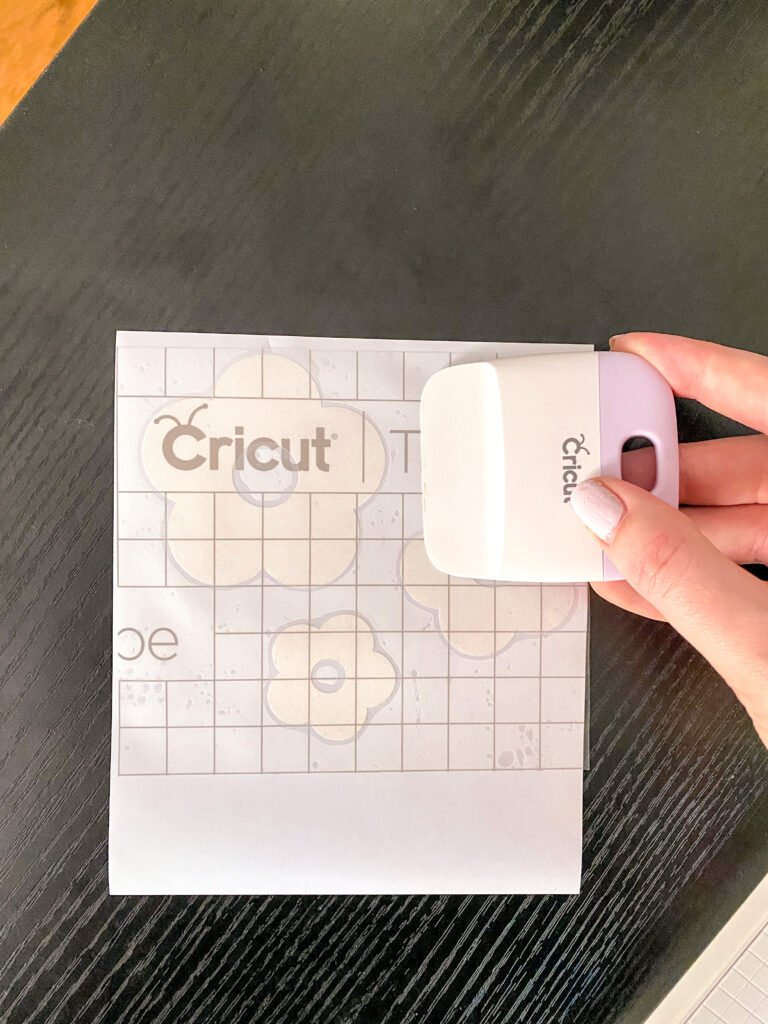
To prepare the cutting mat, cut a piece of removable vinyl large enough to cover the space of your artwork. Use a scraper tool to make sure your vinyl doesn’t have any air bubbles or wrinkles.
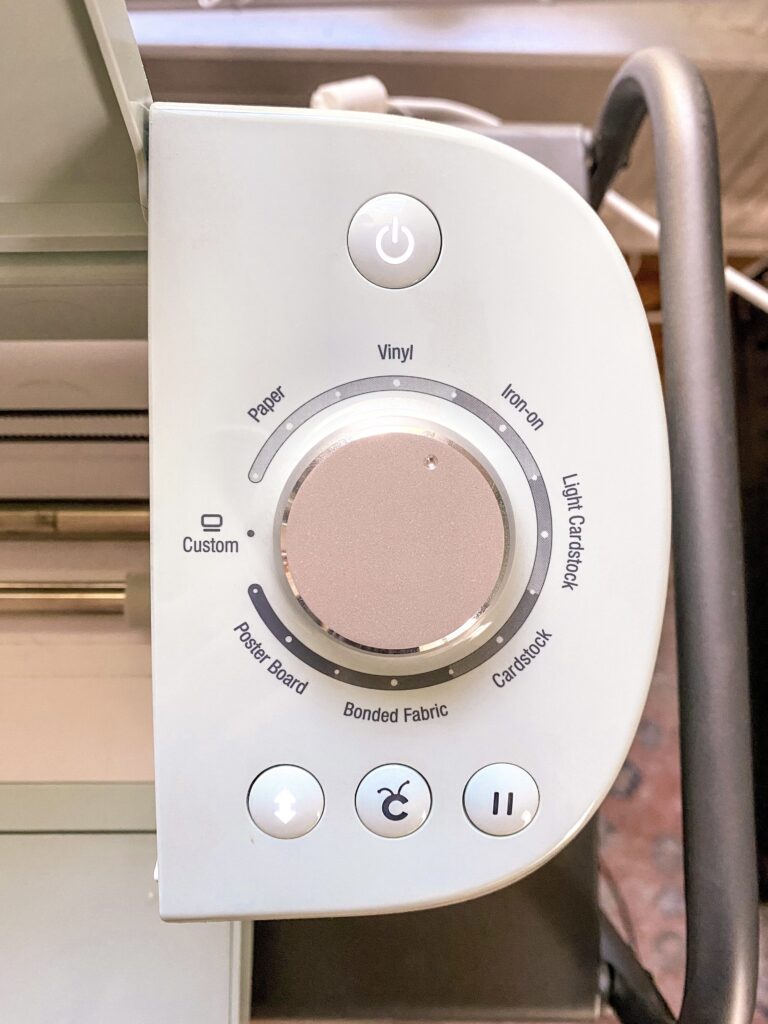
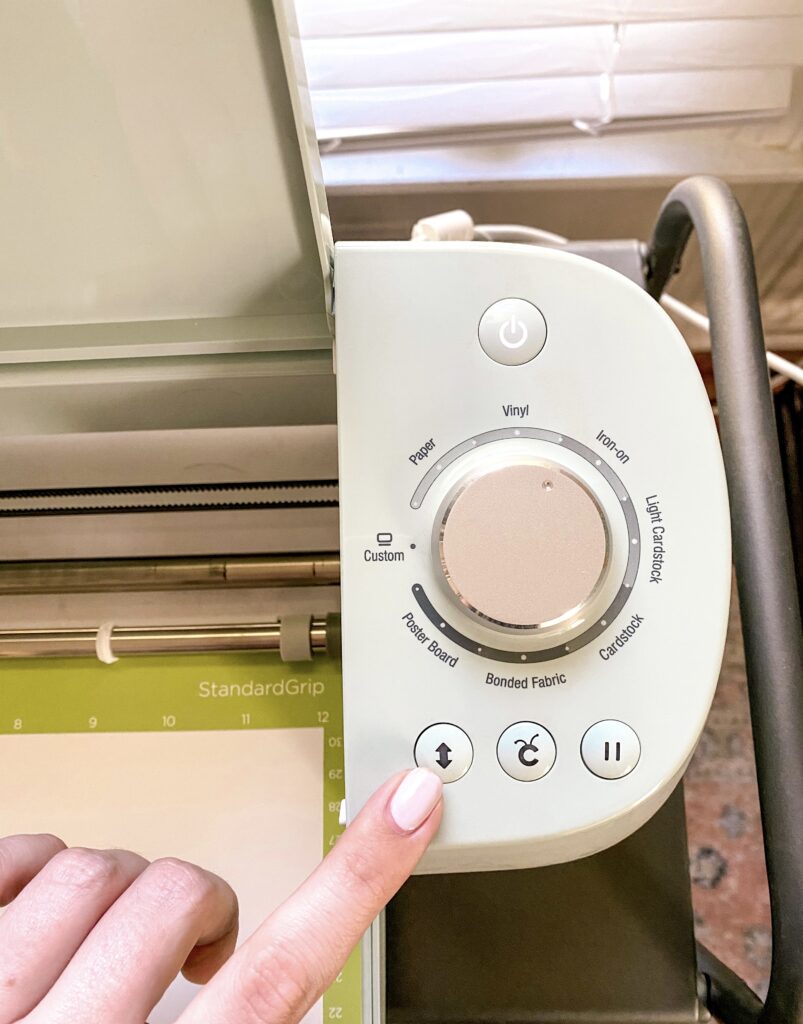
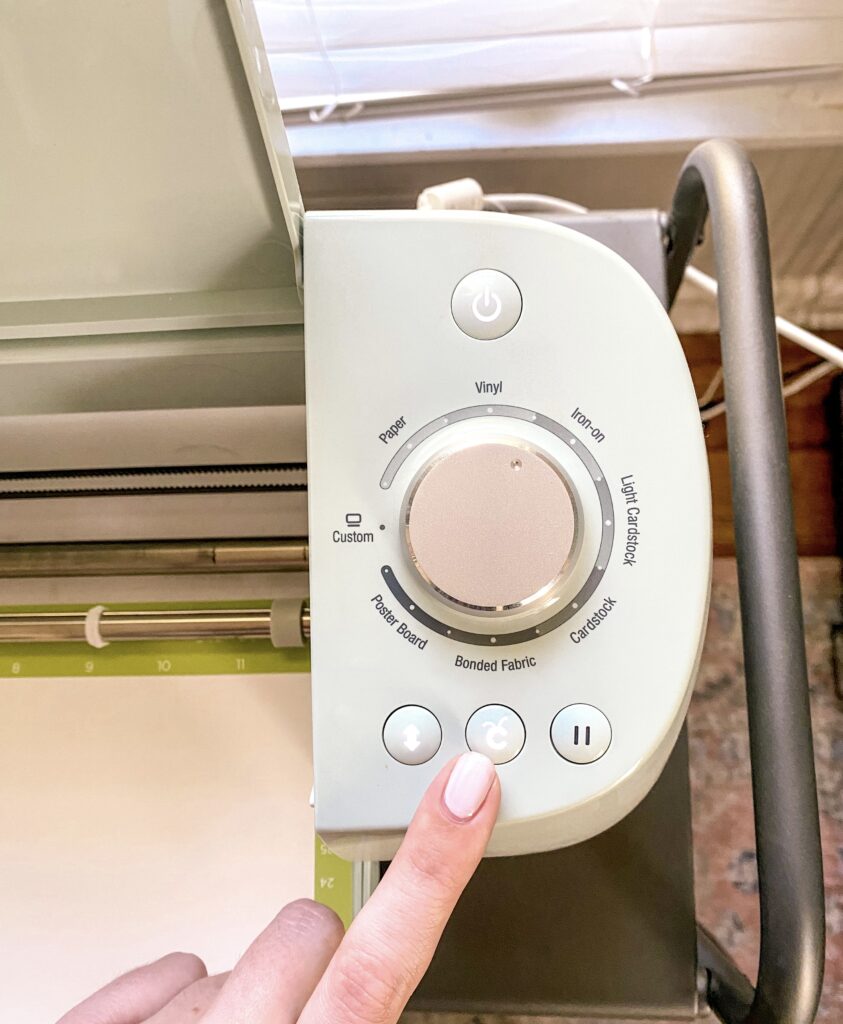
Next you’ll need to setup your machine. I used my Cricut Explore Air 2, and set it to the Vinyl+ setting for these vinyl mirror decals. This setting may vary depending on your machine and the life of your blade. However, even if you have a dull blade make sure you don’t set it too high, otherwise you risk cutting clear through both layers of your vinyl. Take it from me, I’ve made that mistake so you don’t have to.
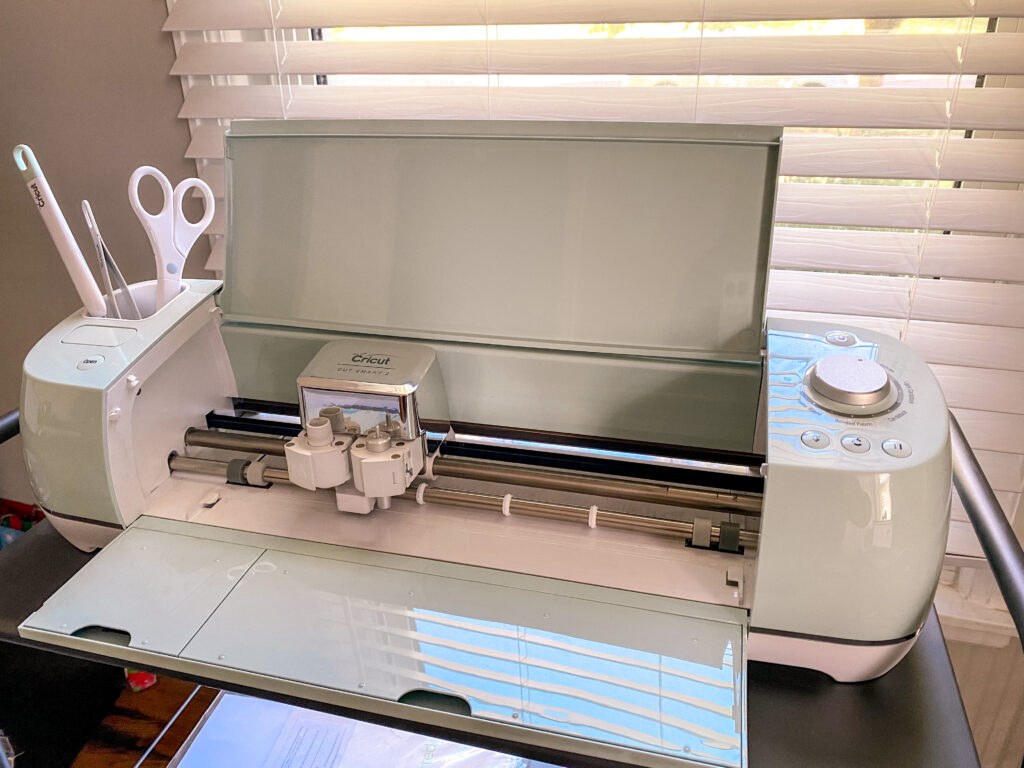
Load your cutting mat once the light is flashing, then press the start button.
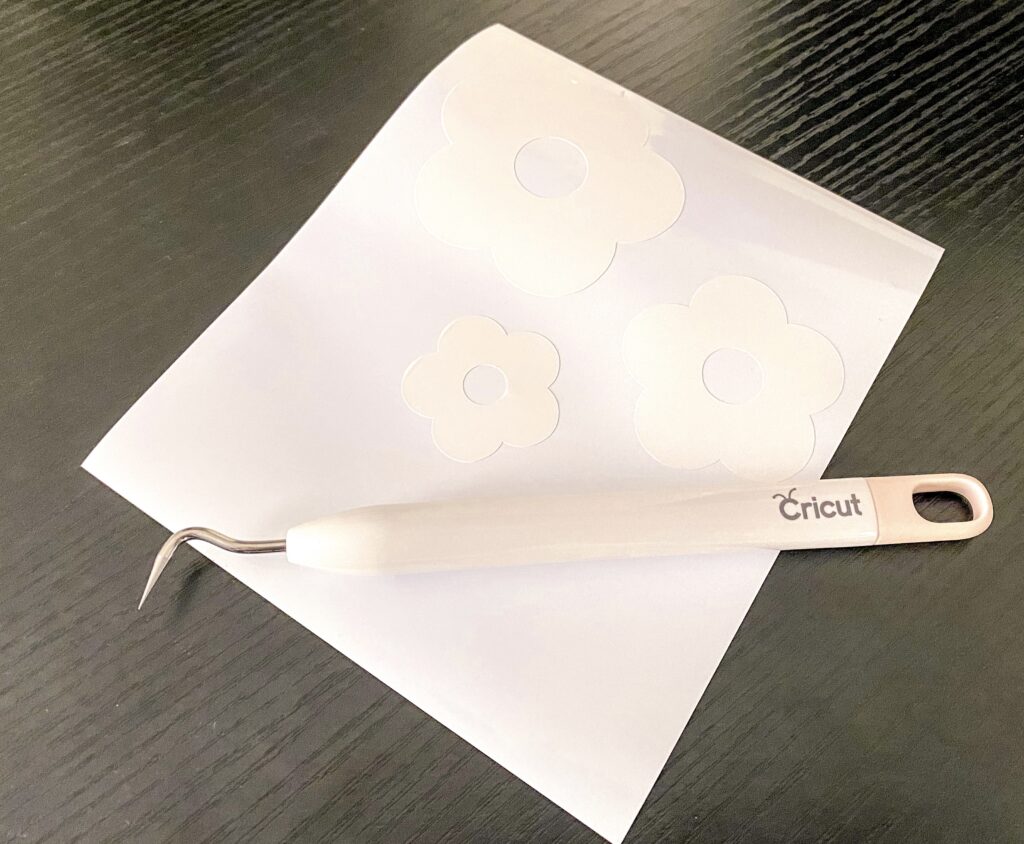
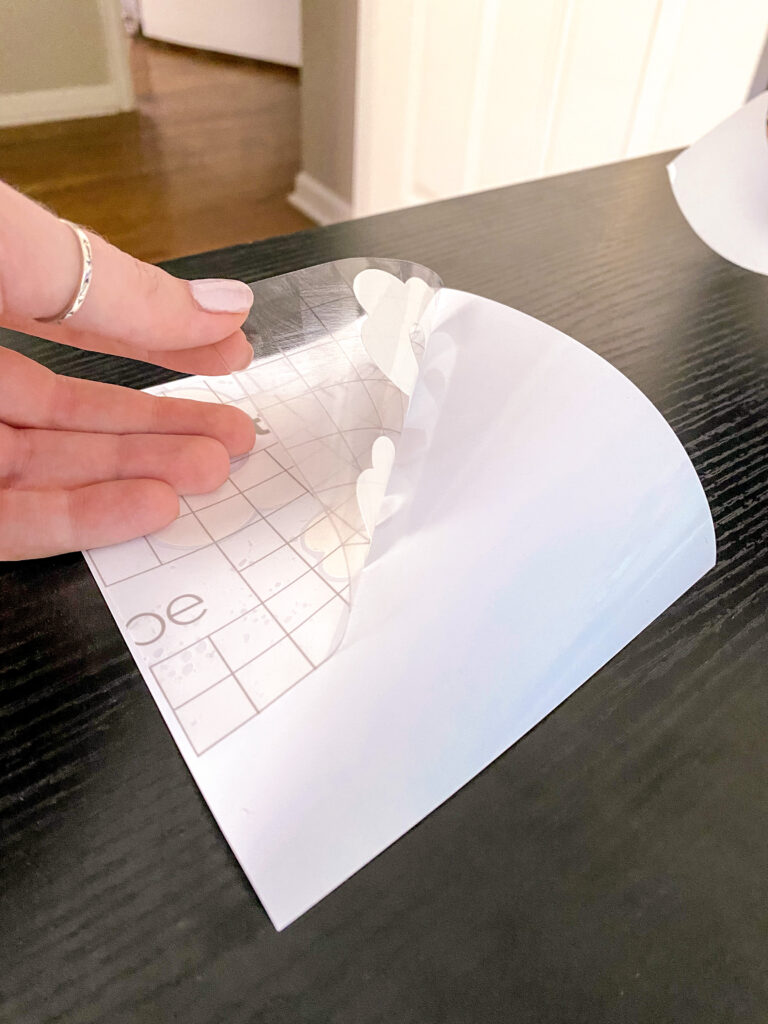
After your machine is done cutting, unload your mat and remove your vinyl. If your original vinyl sheet was much larger than your artwork, trim it before weeding so you don’t waste more vinyl than you have to.
Next, weed your design. (Weeding is the process of removing any vinyl that is not part of your design.) You can use weeding tools, or you may be able to just peel the layers apart.
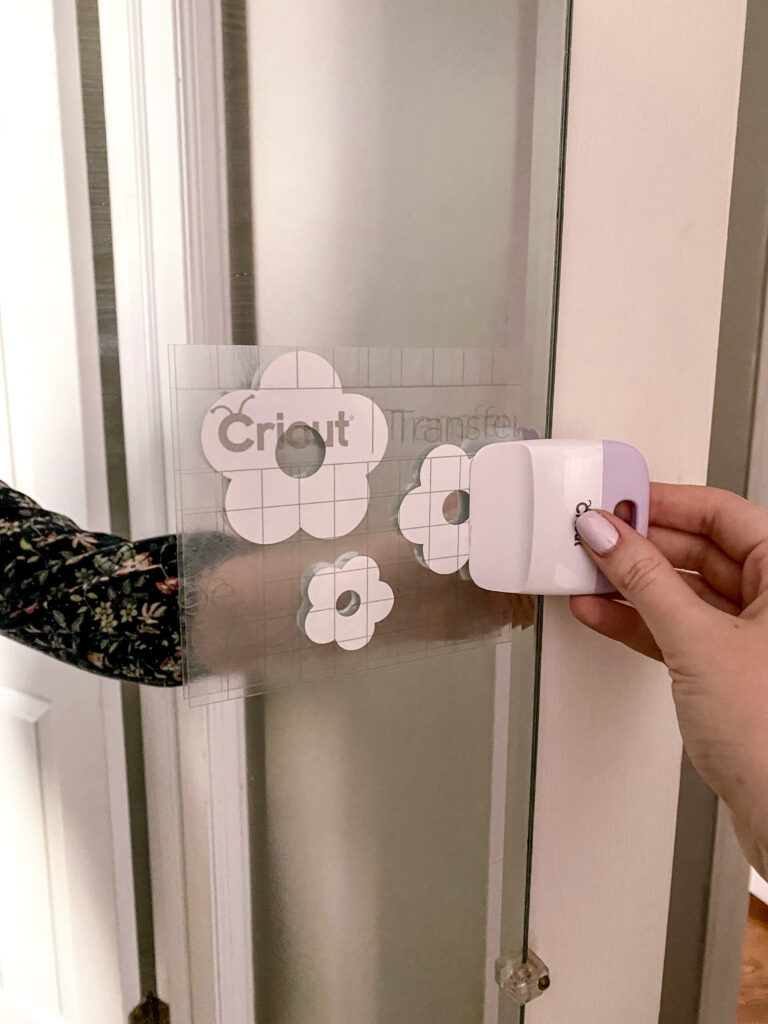
Step 3 – Apply
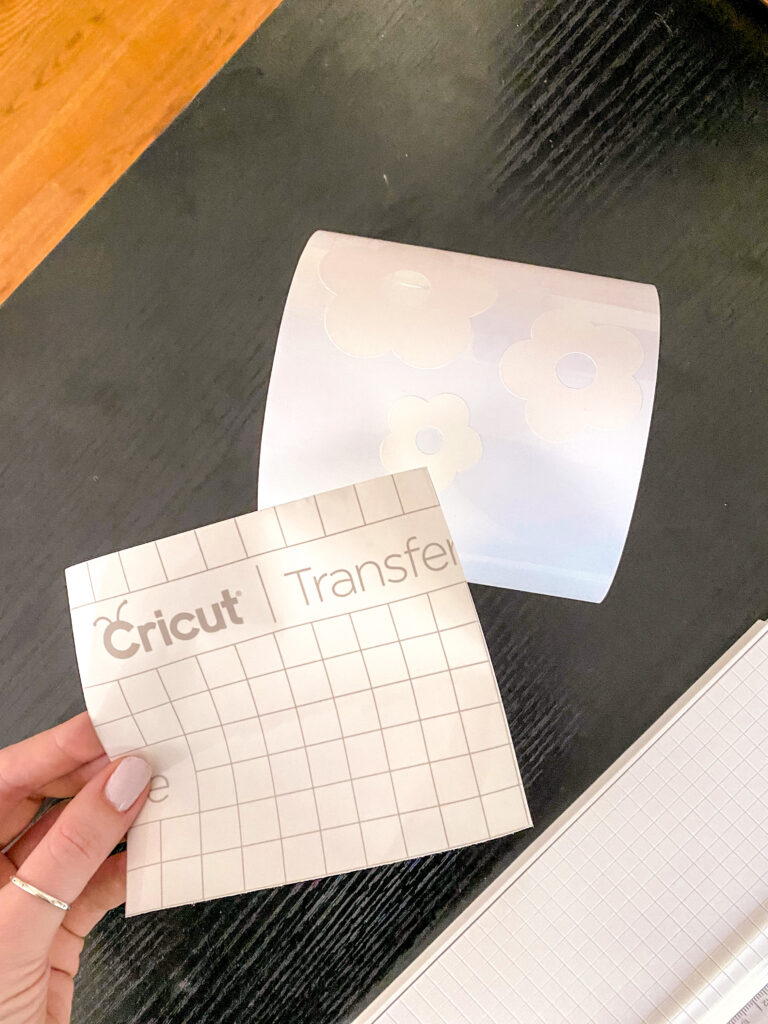
To apply your design you will first need to cut a piece of transfer tape that is just slightly larger than your artwork. Place the transfer tape over your vinyl and use a scraper to make sure it is secure. You should be able to peel the tape back and have the vinyl come up with it.
Before you put your decal on your mirror you will want to make sure you clean the mirror well. Use a microfiber cloth to get rid of any dust that might prevent your design from applying smoothly.
Align your artwork on the mirror and once again use your scraper to make sure the vinyl is securely adhered and doesn’t have any bubbles.
Now you can remove your transfer tape and reveal your cute flower design!
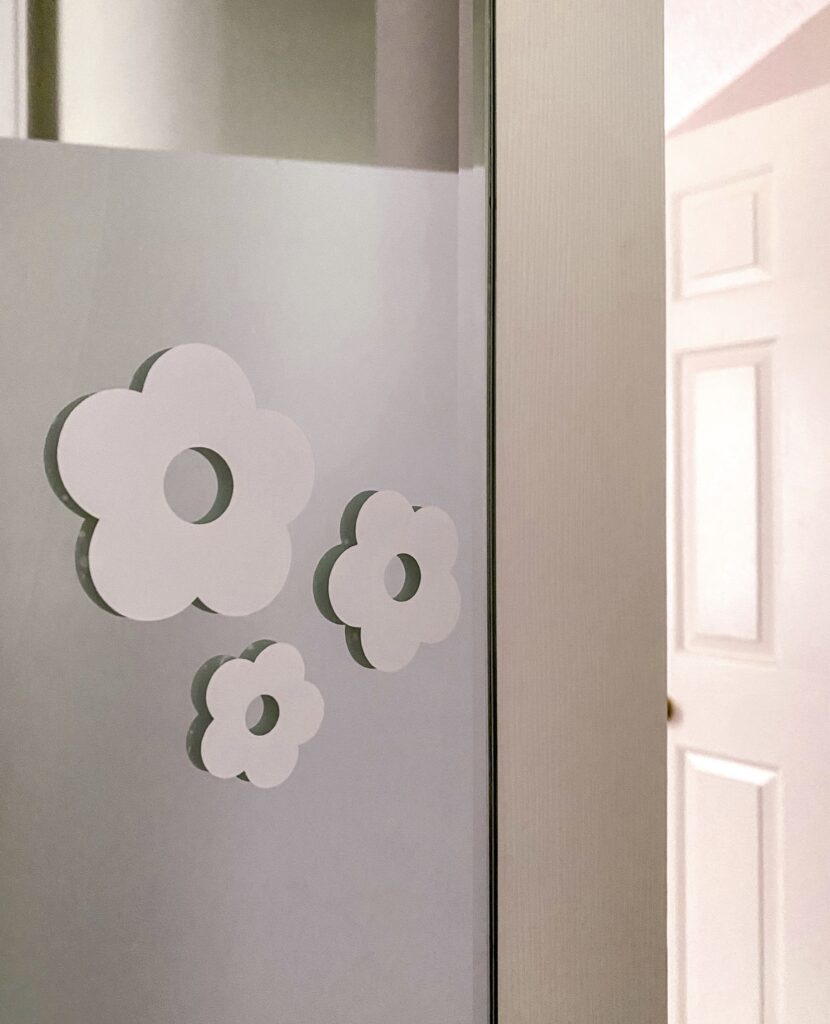
I hope this was a helpful intro to designing, cutting, and applying vinyl mirror decals! Happy creating!

Wow!! Thanks so much for this Emily! I can’t wait to make my own vinyl stickers!
I hope you try it out! Thanks for reading 🙂