If you’re looking for a fun yet simple DIY holiday card, these paper tree cards might be just what you need! These cards are some of my favorite to make and they’re super simple. You can make them to send out, or bundle a few together with some envelopes and give them as a gift.
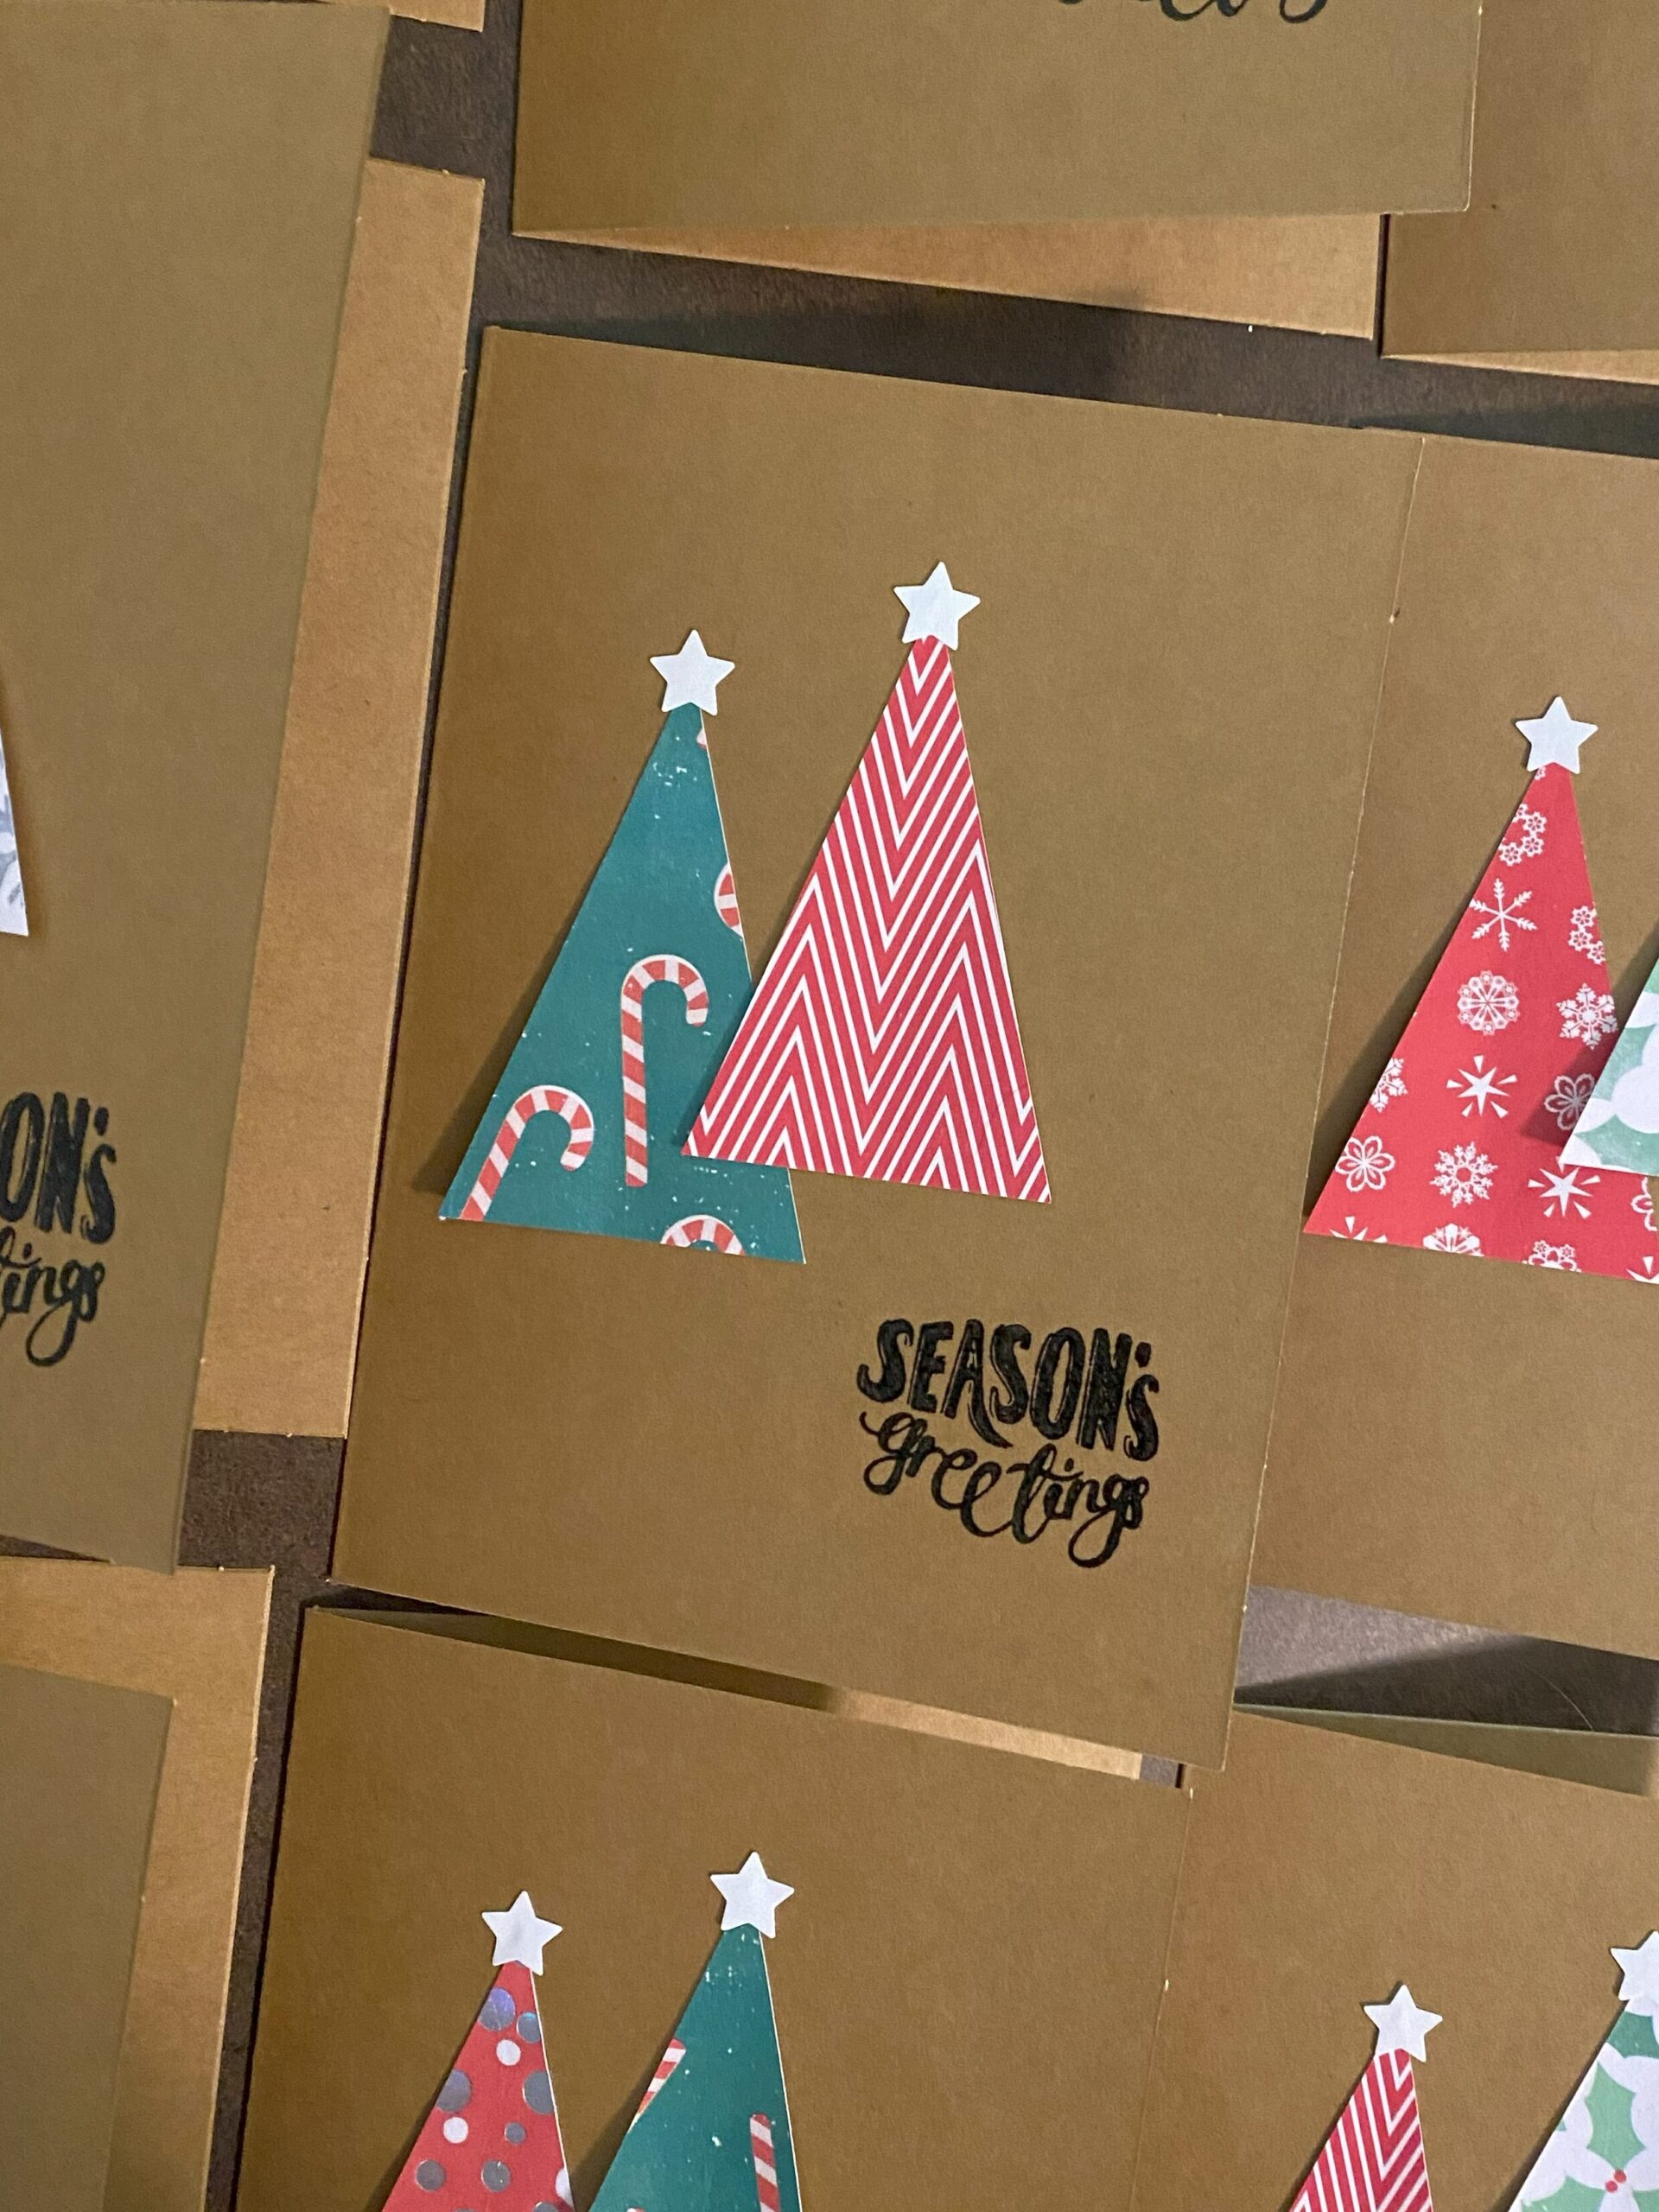
You will need:
- Blank cards
- Patterned scrapbook paper
- Glue
- Scissors or X-Acto knife
- A holiday stamp & ink
If you have a small star paper punch you can use that to add a finishing touch to your trees, but they’re just as cute without it!
Step 1.
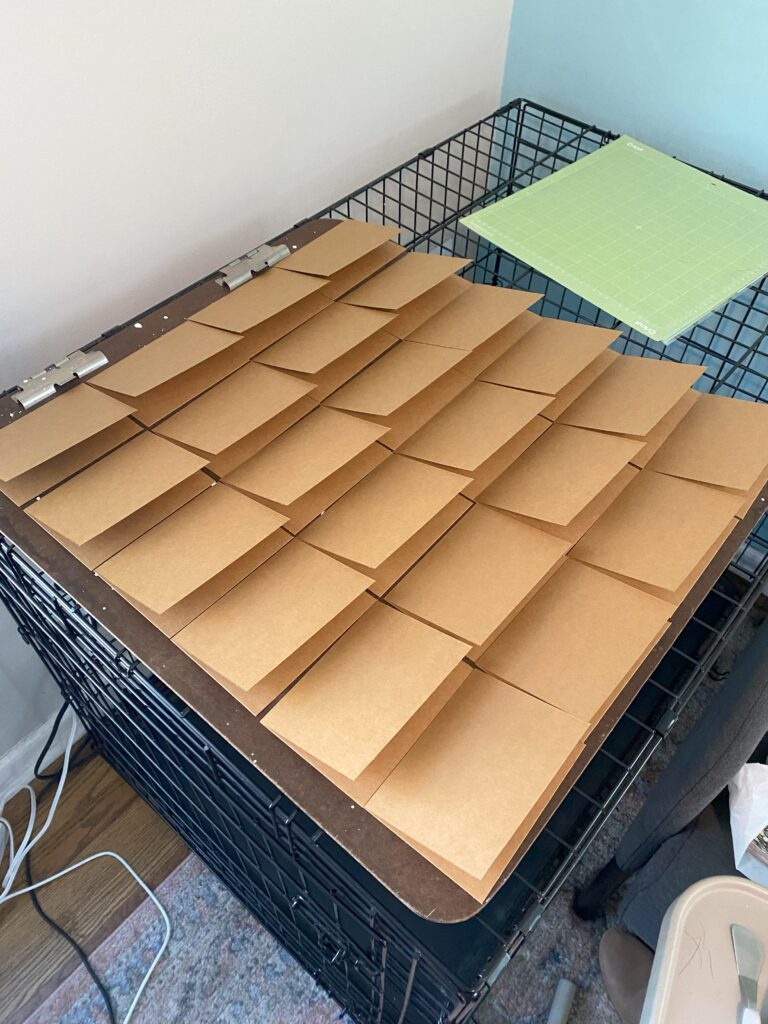
Begin by folding your card blanks. If you do not have cards, you can also cut paper to size and fold it. I typically use kraft paper card blanks when making these, but you can use whatever you like. That’s the beauty of DIY Holiday Cards, you can add your own personal touch to them!
Step 2.
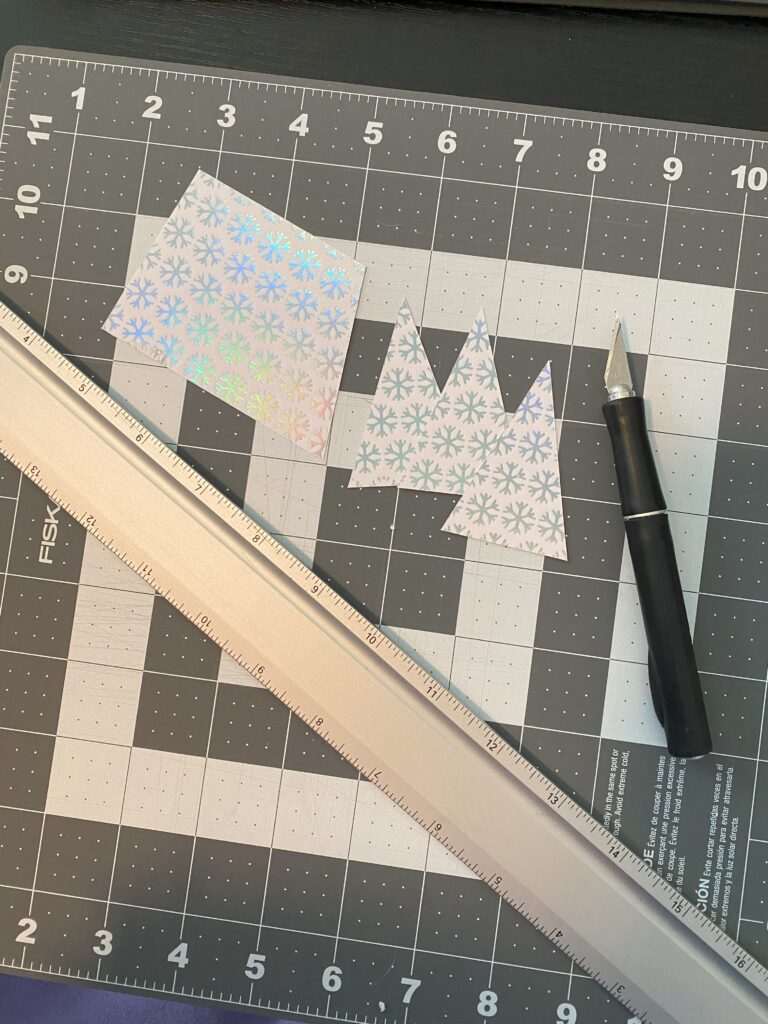
Next you’ll want to cut out all of your trees. For an A2 card I usually cut my trees to be 2.5″ tall. I have used my Cricut to cut these out in the past, but they don’t have to be perfectly even, so I’ve gotten just as good of a result with a ruler and an X-Acto knife.
When selecting your patterned paper, keep in mind the size of the trees you’ll be cutting out. Small scale patterns typically work best for this because you keep the integrity of the pattern even when you’re only using a small piece of the paper.
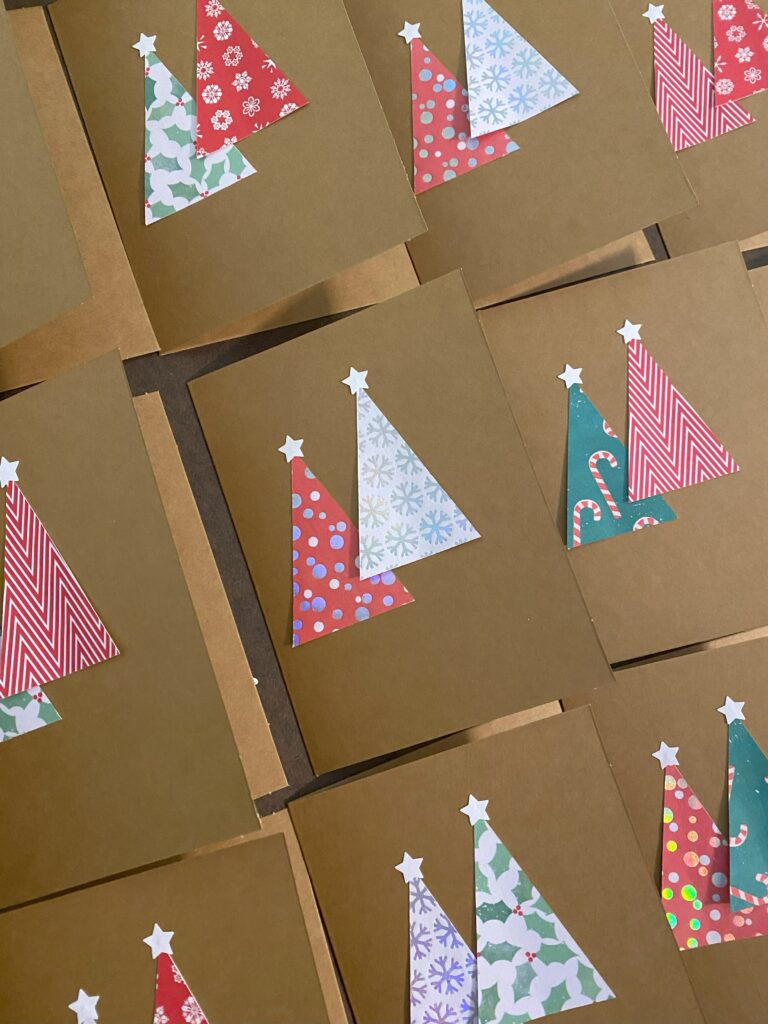
If you’re putting stars on your trees this is a good time to cut those as well.
Step 3.
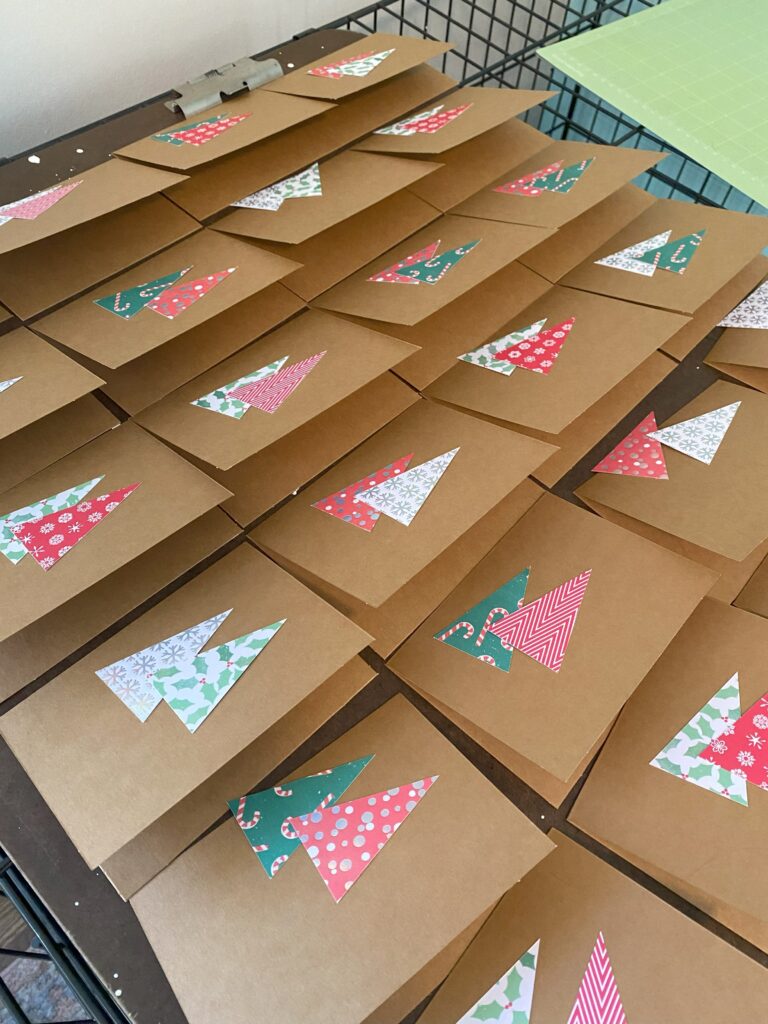
Once I have all of my trees and stars cut out, I like to lay out all of my cards and decide what tree pairings I like best. My goal is to avoid as many duplicate combinations as possible. Not that anyone would care if I gave them the same card as everyone else, I just like the variety 🙂 The more patterns you use, the more combinations you can get, but if you’re trying to create a set of cards too many patterns can end up making the cards less cohesive overall, so it’s just a matter of balance and personal preference.
Step 4.
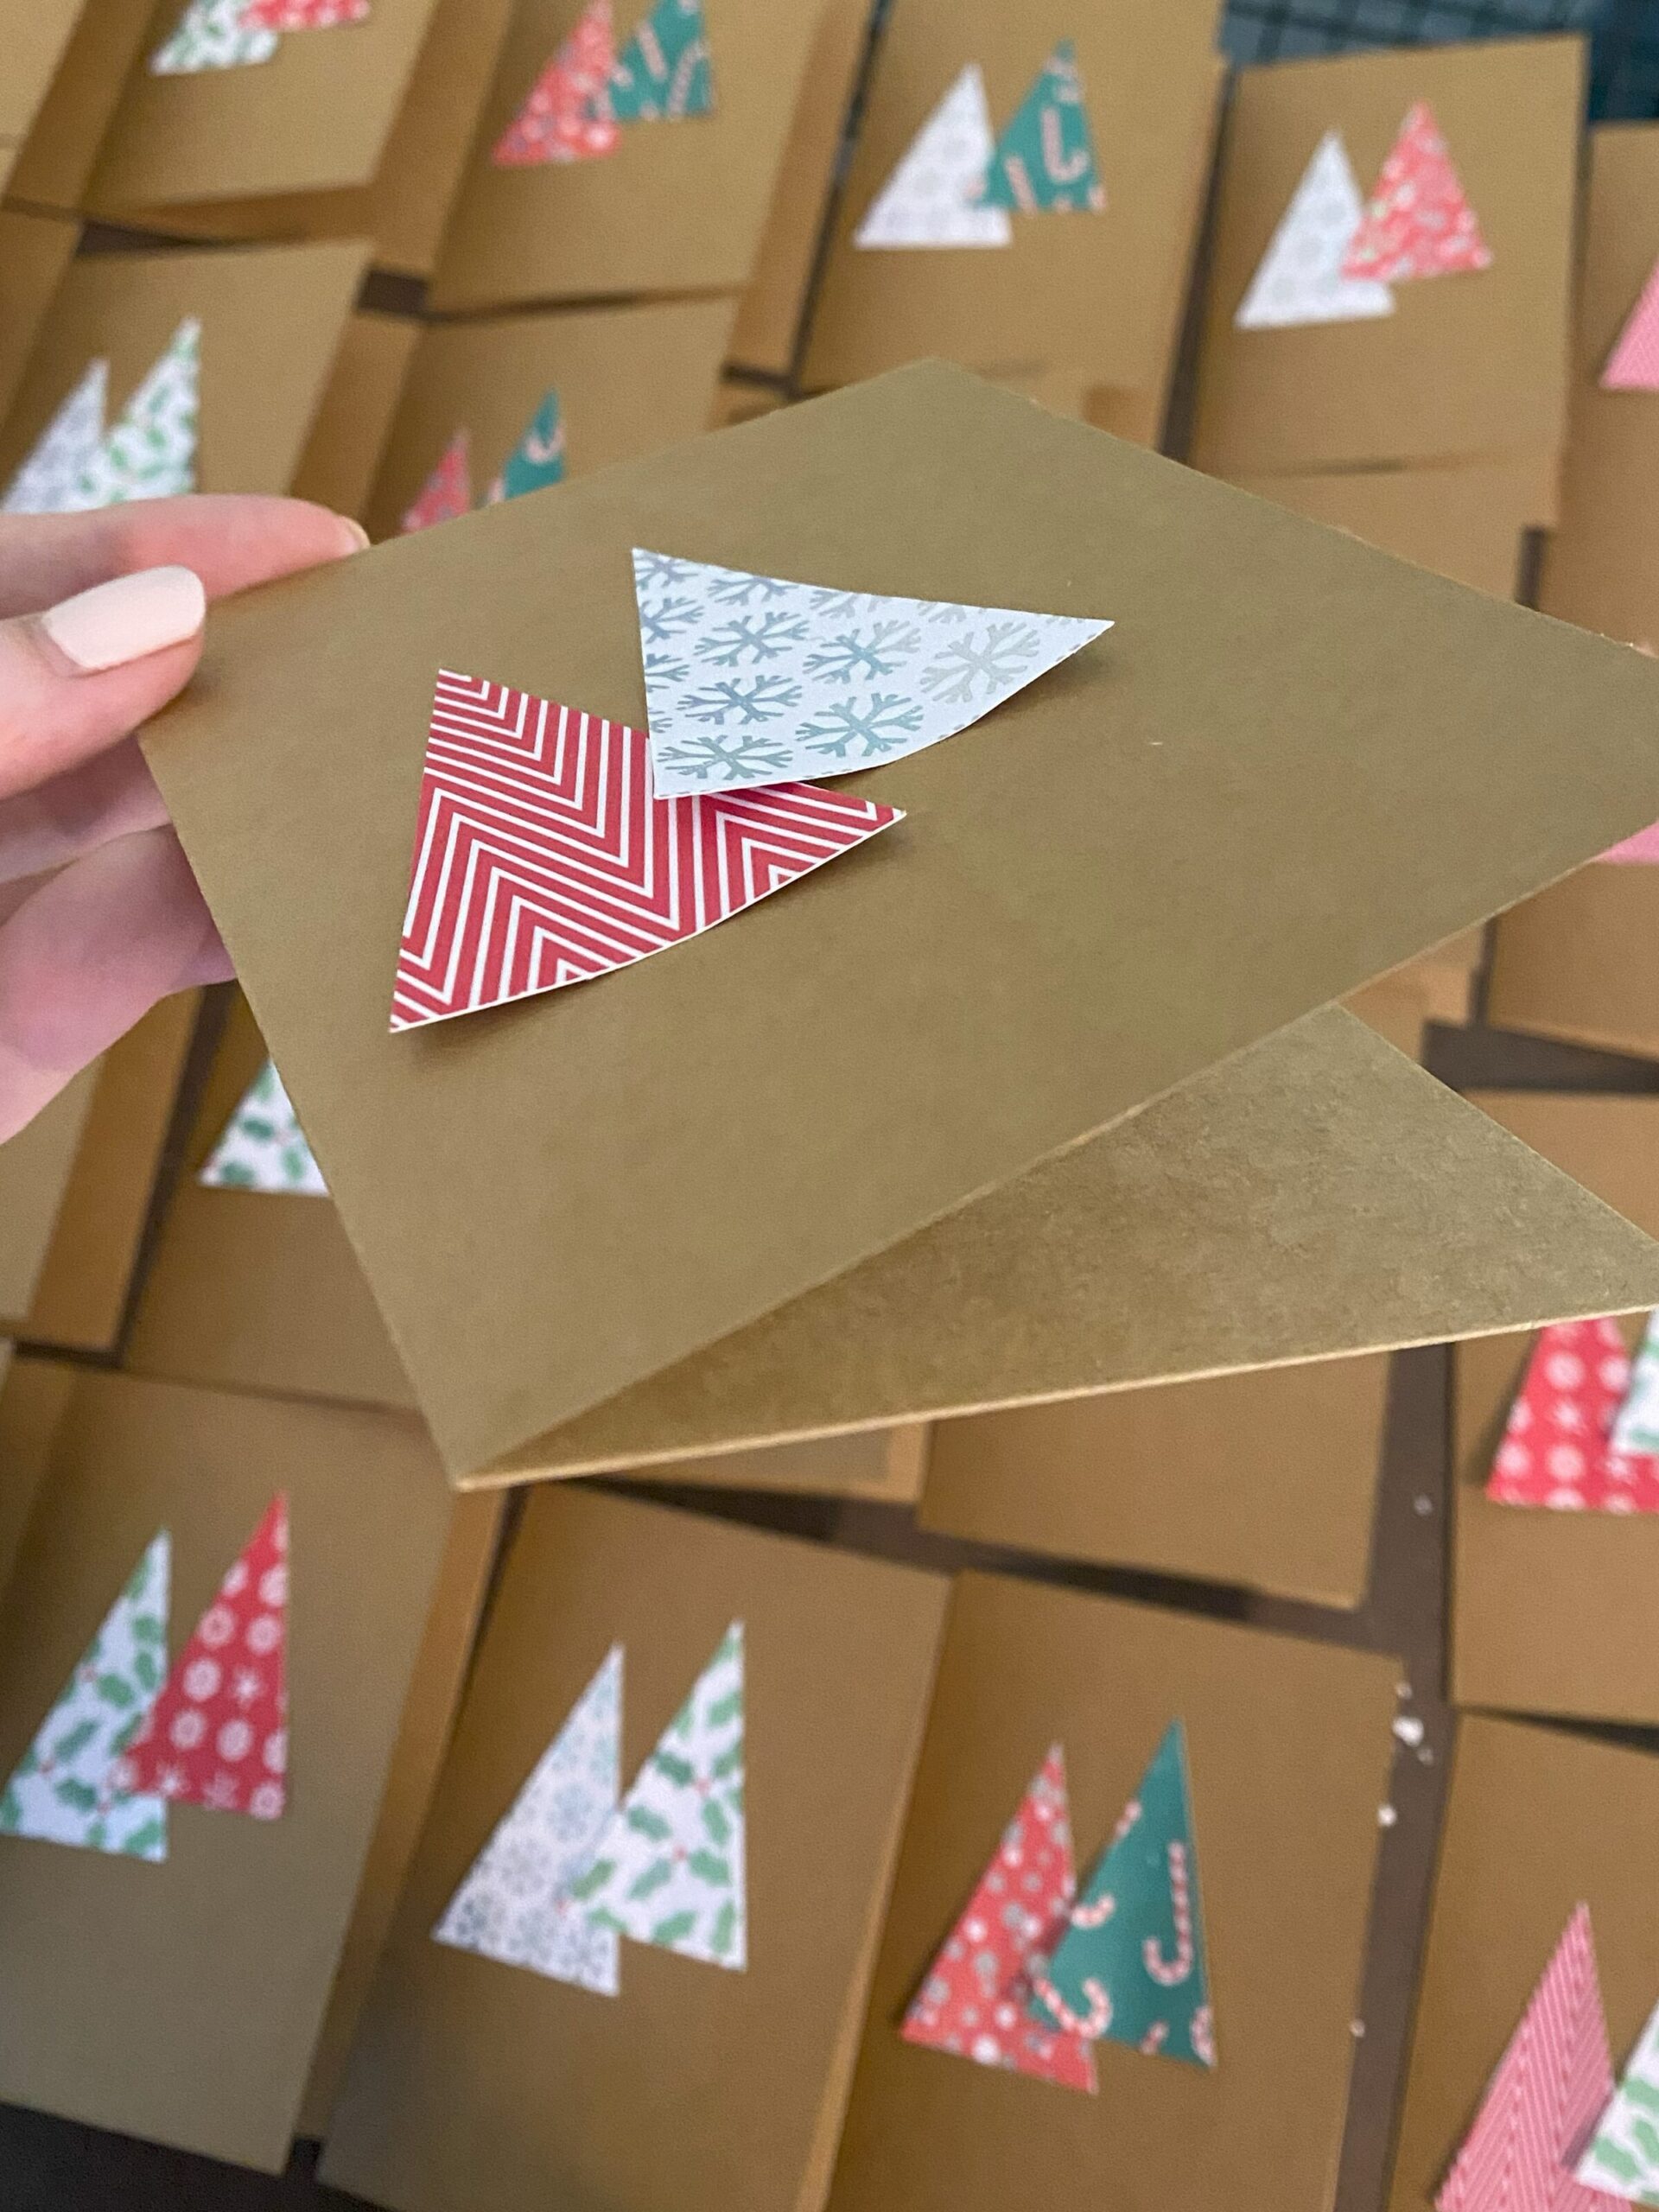
After you’ve organized everything, it’s time to glue it all down! As you glue the trees, give each one a slight fold down the center. I don’t give them a defined crease, just bend them enough so that the edges of the tree lift off the card once you lay it down. Put a line of glue down the tree where you just folded it, and press it onto the card. Repeat this for the second tree. If you’re using stars, put a small dot of glue on the star and place it right on the top of the tree.
I like using this Scotch dual sided glue for this project. The sponge tip works well for the trees and the precision tip is perfect for the stars. It dries pretty quickly and has a strong hold.
Step 5.
The final step is to add your holiday stamp! Once again, you can use any stamp you like, I would just recommend something that is no wider than 2″. These don’t have to be super exact, and I find that this step is one of the quickest in this whole project. Once you’ve stamped each card, lay them back out to make sure everything has time to dry before bundling them together or putting them in envelopes.
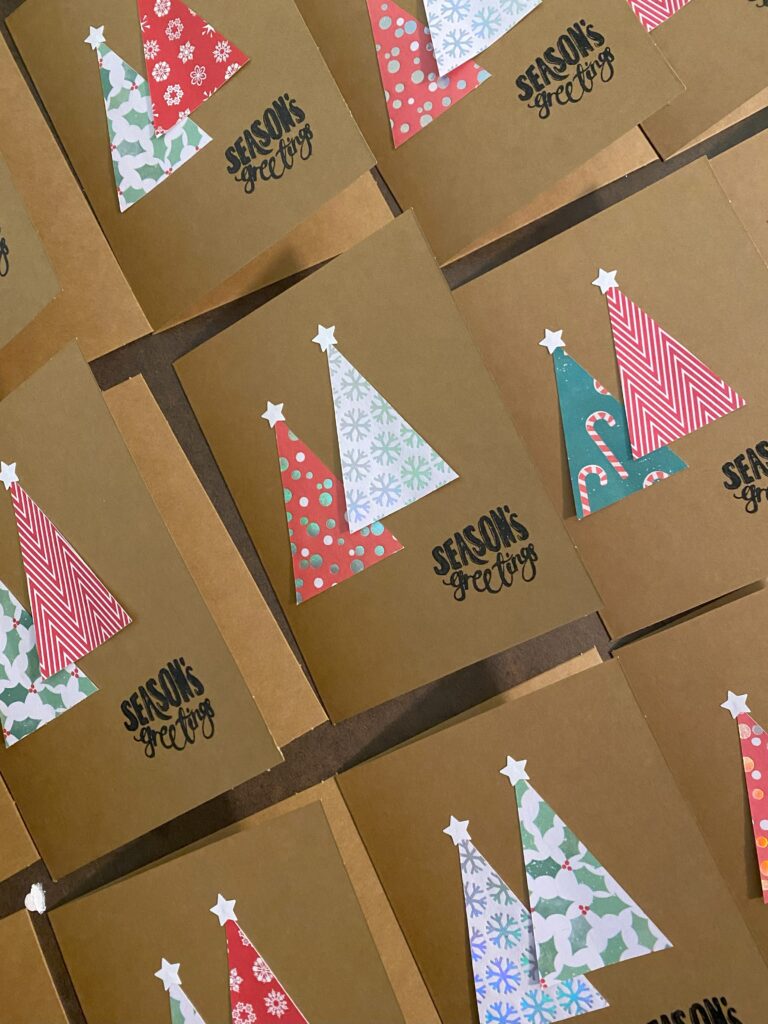
That’s all! You’ve got yourself a fun, simple set of DIY holiday cards!
